Desktop-Mounted Privacy Screens for Standing Desks: NRC, Mounting, Sightlines, and Cable Pass-Through
Privacy screens do more than hide your screen. On a height adjustable desk, a good desktop-mounted panel also absorbs speech, reduces visual clutter, and moves with you from sit to stand—without wobble, snags, or glare. Pick the wrong panel or mount it poorly and you will fight collisions, rattles, and frayed cables. This guide shows how to spec, mount, and maintain privacy and acoustic screens that upgrade comfort and focus while keeping every standing desk safe, ergonomic, and easy to service.
Why choose desktop-mounted panels (not floor dividers)
-
Consistent privacy at both heights: Panels that ride the height adjustable desk keep sightlines and sound absorption aligned whether you sit, perch, or stand. Floor dividers leave gaps when you stand.
-
Local acoustics where they matter: Near-field absorption around the talker/listener pair reduces distraction better than distant baffles.
-
Clean aisles and faster cleaning: Nothing on the floor means clear routes for ADA and housekeeping.
Acoustic performance: what NRC numbers mean
-
NRC basics: Noise Reduction Coefficient (0.0–1.0) indicates broadband absorption. For workstation panels, NRC 0.6–0.9 in the speech band (500–2,000 Hz) is a practical target.
-
Materials that work: PET felt (recycled polyester), fabric-wrapped mineral wool cores, and micro-perforated composites. Choose matte, non-glossy finishes to avoid light streaks in the visual field.
-
Thickness and height: 12–24 mm cores absorb better than thin plastics. A height of 18–24 inches above the worksurface blocks sightlines without feeling claustrophobic.

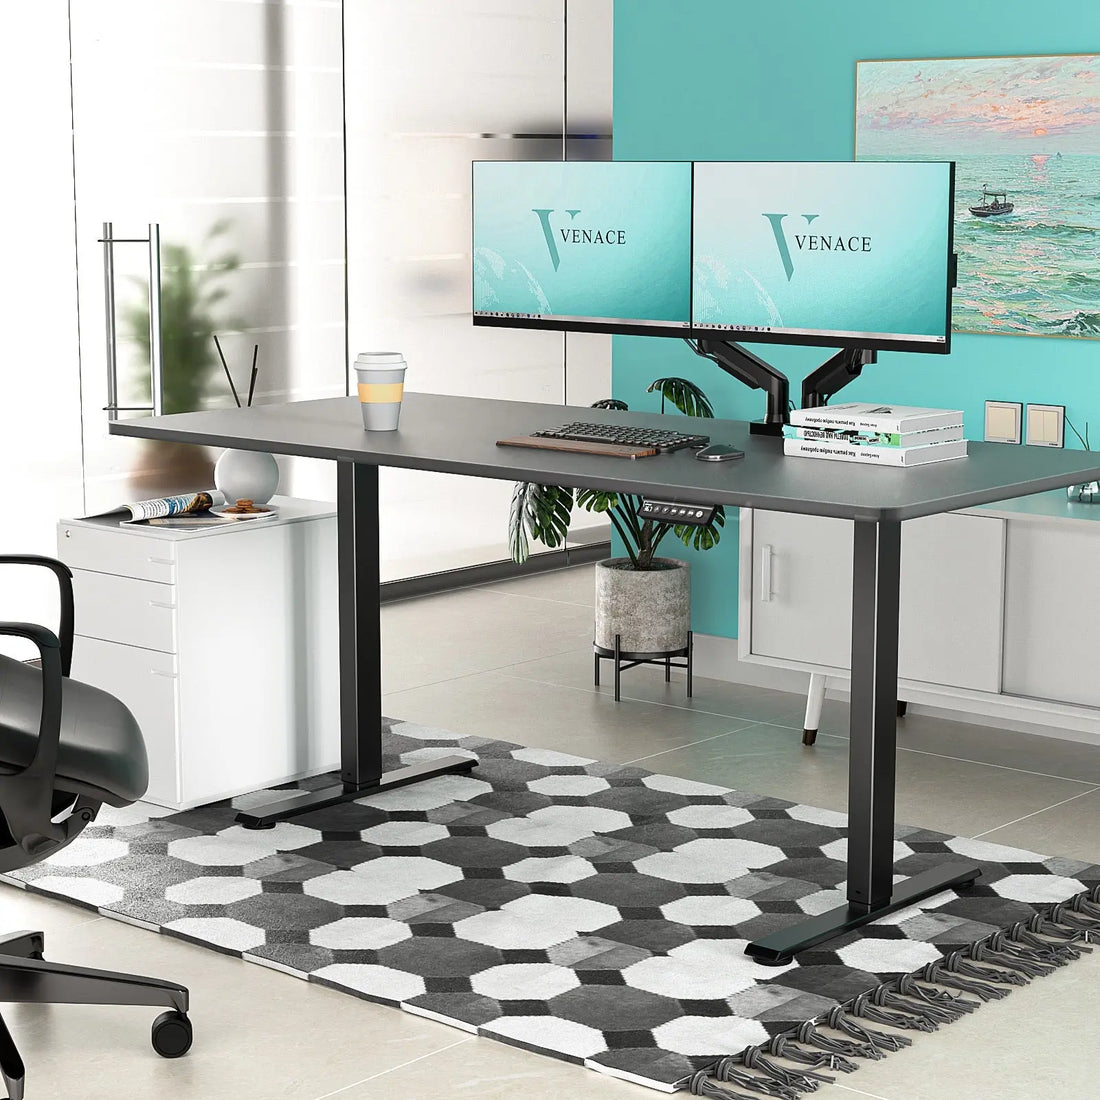
Ergonomic geometry and sightlines
-
Height above desk: 18–24 inches keeps screen tops below the panel edge and preserves camera framing for hybrid calls. Taller is rarely better; it can raise visual noise and interfere with lighting.
-
Width: Cover at least 80% of the desktop width; leave a few inches on each side for mat hooks, headset hooks, and chair clearance.
-
Edge profile: Soft radiused corners look calm and resist chipping. Sharp corners create minor bumps and can snag sleeves or cables.
Mounting hardware that survives sit-stand
-
Clamp vs. rail mounts:
-
Clamp-on brackets are fast and preserve the top. Pick steel brackets with anti-slip pads and wide jaw range to match your desktop thickness (25–30 mm typical).
-
Rail systems tie into the rear edge or frame rails for a continuous look. Confirm the rail clears lifting columns and the crossbar.
-
Mount to the moving surface: Always fasten the panel to the desktop or frame rails—not to a wall or floor—so it travels with the height adjustable desk.
-
Threaded inserts > wood screws: For long-term serviceability, use M6 or 1/4-20 inserts under the desktop and machine screws with flat washers. Typical torque: 4–6 N·m into inserts. Avoid crushing the core.
-
Stability checks: After install, perform a corner-push test at full height. The standing desk should damp quickly without panel flutter. If ripple lingers, re-torque the crossbar, move monitor arm clamps closer to a lifting column, and verify long feet match desktop depth.
Cable pass-through and accessory integration
-
Brush grommets in the panel: Panels with integrated cable slots or brush grommets keep lines off the horizon and feed directly into a rear cable tray. Avoid hard-edged slots that cut cable jackets.
-
Device clearance: Plan cutouts or standoff brackets for camera bars and task lights. Keep the camera lens at eye height with the panel edge out of frame.
-
Dock and headset homes: Mount docks under the top or inside the tray; add under-edge headset hooks. Screens should not carry device weight; let the desk frame do the work.

Golden build under the desk (still nonnegotiable)
-
Rear cable tray + surge strip: Fix a listed surge-protected strip inside the tray; strap every brick. Keep AC on one side, low-voltage on the other.
-
One power drop: Route a single trunk through a vertical cable chain to a floor box or power spine. No tails across aisles; no daisy-chained strips.
-
Service loops: Leave small slack loops at monitor arm pivots and at the control box so nothing goes taut during sit-stand travel. Panels should never tug cables.
Anti-collision and clearances
-
Upward clearance: With panels mounted, run the desk up to the highest preset and verify clearance below shelves or sills. Test upward anti-collision with a padded shelf or bumper. Fix cable drag before changing sensitivity.
-
Downward clearance: Test with a foam block under the front edge. The desk should stop and reverse slightly; the panel must not hit chair arms or drawers.
-
Face-to-face gaps in benching: Maintain a 2–3 inch gap between opposing desktops so they never touch at full lift—even with panels installed.
Cleanability and durability
-
Daily wipe-down: PET felt and fabric wraps: vacuum or lint-roll; spot clean with mild soap. HPL or powder-coated rails: 70% IPA on a lightly damp cloth. Avoid ammonia on controller lenses and aggressive solvents.
-
Edge wear: PET felt resists scuffs; fabric wraps may fray at hard, sharp corners. Specify wrapped edges with guards or choose PET for heavier-use hot-desk areas.
-
Replaceable skins: Where possible, choose systems with removable covers or panels. This extends life without replacing brackets.

Sustainability notes
-
Recycled content: PET felt often uses 50–60% post-consumer plastic. Ask for declarations and keep with your ESG documentation.
-
Low-emitting materials: Favor low-VOC adhesives and finishes; match any LEED/WELL interior materials strategy.
Branding without breaking serviceability
-
Subtle logo applique or laser etch on brackets keeps identity visible without complicating spares. Avoid large glossy prints that show fingerprints or glare on camera.
-
Color discipline: Limit to two or three panel colors across a floor to reduce visual noise and simplify inventory.
Installation sequence (field-proven)
-
Layout and mark: Place the panel standoffs; verify clearance to lifting columns, crossbar, and monitor arms. Mark insert locations with edge distances ≥ 20 mm.
-
Install inserts (if used): Drill pilots with depth stop; seat M6/1/4-20 inserts flush.
-
Mount brackets: Use machine screws with flat washers; torque evenly; confirm clamp pads are seated for clamp-type brackets.
-
Seat the panel: Align, tighten set screws, and check for rattle.
-
Cable routing: Align brush grommets with rear desktop grommets; feed short, certified DP 1.4/HDMI runs through the lower slot to the tray; leave service loops.
-
Commissioning: Reset the desk (hold Down to the mechanical stop), test anti-collision down (foam block) and up (padded shelf), and perform a corner-push at full height. Spot-check lift noise (mid-40s dB[A]) and tie down any buzzing bricks.
Troubleshooting quick wins
-
Panel rattle on lift: Tighten bracket set screws; add a thin EVA pad between bracket and panel; strap bricks in the tray (buzz is often power, not panel).
-
Cable chafe at slot: Replace with a brush-lined pass-through or add a rubber grommet; shorten runs and leave a loop at the entry.
-
Camera edge in frame: Lower panel height or move the camera to a small arm that clears the panel by 10–20 mm.
-
Wobble at full height: Re-square and re-torque the frame in a star pattern; move monitor arm clamps closer to a leg; upgrade to longer feet on 30-inch-deep tops.
A worksheet you can paste into your RFQ
-
Panel: PET felt or fabric-wrapped core, thickness 12–24 mm, NRC 0.6–0.9, height 18–24 inches above worksurface, width ≥80% of desktop; matte finish; rounded corners.
-
Mounting: Steel clamp or rail brackets; insert-ready patterns (M6/1/4-20); torque specs; replacement skins/panels available.
-
Integration: Brush grommet(s) for cable pass-through; compatibility with monitor/camera arms; standoff options.
-
Desk foundation: Dual-motor standing desk; three-stage lifting columns; reinforced crossbar; long, gusseted feet; lift speed 30–45 mm/s under load; mid-40s dB(A) target; anti-collision up and down.
-
Cable and power: Rear metal cable tray; listed surge strip; vertical cable chain; AC/data separation; bricks strapped; one power drop.
Bottom line
Desktop-mounted privacy panels boost acoustic comfort, reduce visual clutter, and keep privacy consistent when you sit or stand—if you mount and route them like part of the system. Choose high-NRC, matte panels with rounded edges; mount to the moving surface with sturdy brackets and insert-ready patterns; align brush pass-throughs with a rear cable tray and one clean power drop; and verify anti-collision up and down after install. Pair with a stable, quiet standing desk and you will get a tidy, sensory-friendly workstation that helps people focus all day.
CTA
-
Explore privacy panels, clamp and rail mounts, rear cable trays, vertical cable chains, and stable standing desk frames at Venace: https://www.vvenace.com
-
Contact us: tech@venace.com

