Maker-grade standing desks: 3D printing, soldering, and craft stations without wobble or snags
A maker workstation asks more from furniture than a typical office setup. A single table might carry a 3D printer, a soldering mat, a parts bin wall, dual monitors, a camera arm, and a laptop dock—then it needs to move up and down all day. If you build that station on a stable, height adjustable desk and pair it with disciplined cable management, you get cleaner prints, safer soldering, and an ergonomic flow that keeps you building longer. Do it casually and you will fight wobble, ringing, melted tops, and cable snags that trip anti-collision. Here’s how to design a maker-grade standing desk that stays steady, safe, and ergonomic.
Why makers need a different spec
-
Vibration sensitivity: FDM printers show ringing and ghosting when the surface oscillates. Even light taps can degrade print quality at tall Z heights.
-
Heat and chemicals: Soldering irons, heat guns, resin curing lamps, and cleaning solvents demand durable, cleanable surfaces.
-
Cable and filament chaos: Power bricks, heater lines, thermistor leads, camera USB runs, and filament paths create snag risks during motion.
-
Ergonomics in motion: You will alternate between standing for assembly and perching for soldering. The station must keep elbows near 90 degrees and screens at eye height at every posture.
Start with a stable, quiet foundation
-
Frame and legs: Choose a dual-motor standing desk with three-stage lifting columns for longer stroke length and more overlap. That stiffness at full height is what keeps a printer steady and a microscope focus crisp.
-
Feet and crossbar: Long, gusseted feet and a reinforced crossbar resist front-to-back pitch and side-to-side yaw. On deeper tops (30 inches), long feet are worth it.
-
Desktop: A dense, 25–30 mm high-pressure laminate (HPL) top resists “panel drum,” is easy to wipe, and handles light heat with a silicone mat. Avoid thin or hollow cores that amplify vibration.
-
Motion profile: A refined control box with soft start/stop ramps keeps lift noise in the mid-40s dB(A) at the ear and prevents end-of-travel thumps that can jolt a print in progress.

Vibration control for 3D printers and precision tools
-
Mass and isolation: Place the printer on a dense slab (granite, concrete paver with neoprene pads, or dedicated isolation platform). The extra mass plus compliant pads decouple the frame from table micro-movements.
-
Clamp strategy: Clamp camera and light arms near a lifting column to shorten lever arms. The closer the clamp to a leg, the less the desk flexes under dynamic loads.
-
Z-height discipline: If you must adjust height with a print running, use small moves and soft ramps. Better yet, set a “print” preset on the desk controller and avoid mid-job lifts.
-
Tool segregation: Mount the vice and heavy hand tools on a corner region over a leg, not mid-span, to keep torque out of the crossbar.
Heat, ESD, and surface safety
-
Heat mats: Add a silicone soldering mat where irons and hot ends rest. Do not park a heat gun or hot nozzle directly on laminate.
-
ESD awareness: If you handle boards or drivers, use a dissipative mat and a ground cord to a proper ground point. An ESD-safe variant of the height adjustable desk top or mat helps protect sensitive components.
-
Fume and resin: For resin printing or heavy flux, plan ventilation. Small enclosures with ducting reduce odor and keep particulates away from mechanisms and monitors.
Cable management is nonnegotiable
-
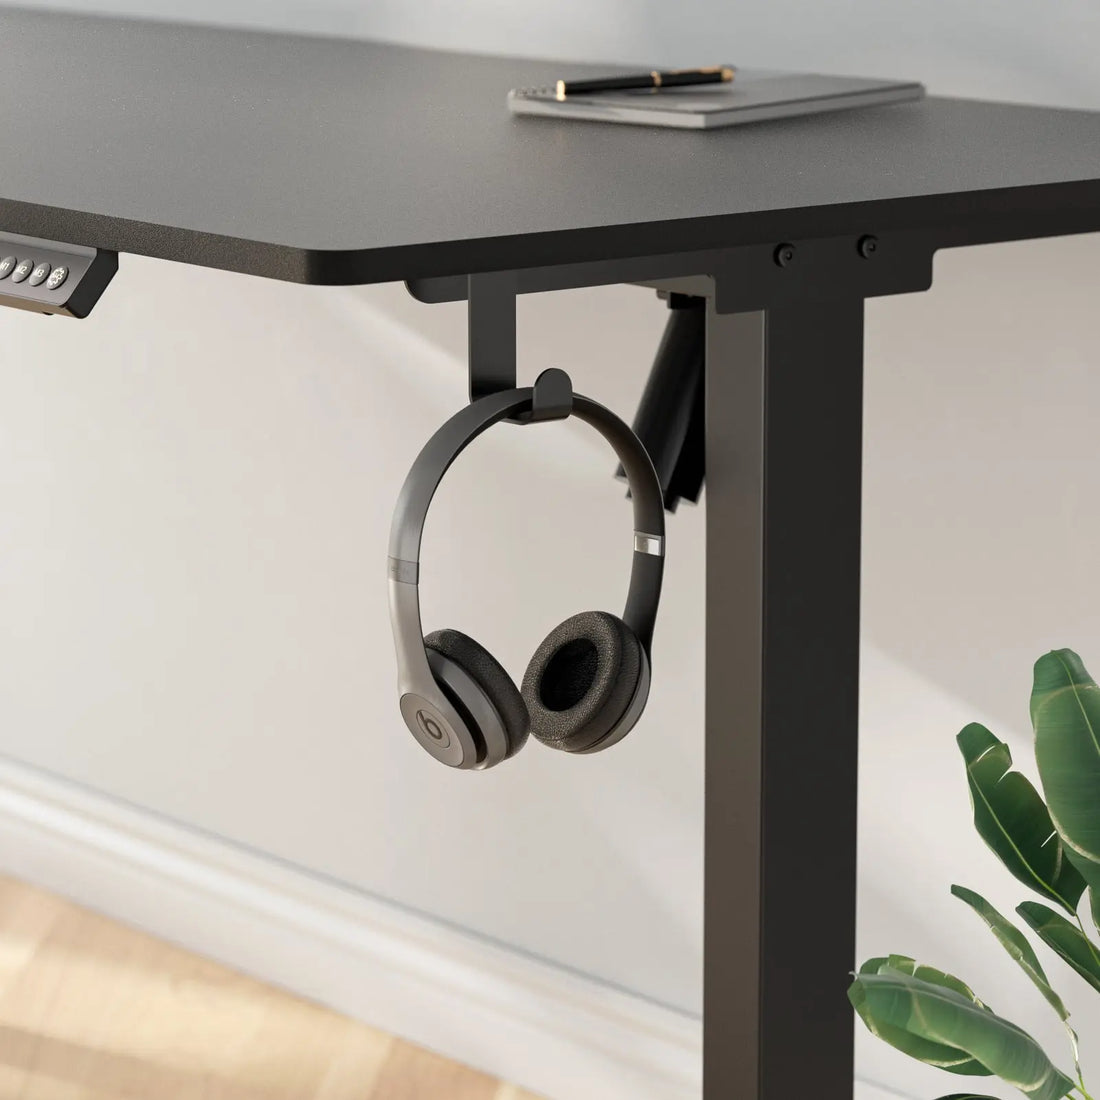
One power drop: Mount a surge-protected strip inside a rear metal cable tray and run a single trunk down a vertical cable chain to the outlet. No daisy-chained strips. This protects ports and keeps floors clear for carts and stools.
-
AC vs. signal separation: Keep bricks and mains on one side of the tray; route USB, camera, and stepper leads on the other. Crossing at 90 degrees beats long parallels and reduces noise in webcams and sensors.
-
Service loops: Leave small slack loops at monitor arm pivots, the control box, and the printer’s moving head cable bundle. Tight lines cause false anti-collision stops and intermittent device disconnects.
-
Tie down every brick: Strap power bricks and the dock inside the tray so weight never hangs on connectors. Loose bricks are the top source of buzz and “mystery” rattles.
-
Filament and pathing: Use filament guides or PTFE tubes and route them so they do not cross the desk edge where motion occurs. Keep spools above or to the rear so lifts never tug a strand.

Mounts, arms, and storage that work with motion
-
Monitor arm: A quality arm with integrated cable channels frees desk depth and positions OctoPrint/Duet dashboards at eye height. Clamp near a leg; add a reinforcement plate under thin tops.
-
Camera and light: Use a compact arm for time-lapse or inspection camera; add a diffused key light off-axis. Route cords into the tray—not across the front edge.
-
Parts and bins: Keep bin walls or rails toward the rear or over a leg. Avoid tall, top-heavy stacks in the middle span.
-
Drawers and CPU holders: Use shallow drawers (2–3 inches internal) placed back from the knee zone; mount CPU holders under the top near a leg so the harness travels with the surface.
Ergonomics for soldering, assembly, and CAD
-
Presets that matter: Save Sit for CAD/modeling, Perch for soldering or close work with a microscope, and Stand for assembly and inspection on the desk controller. One-tap changes keep you moving.
-
Elbow height and wrist angle: Keep elbows near 90 degrees and wrists straight. A keyboard tray with slight negative tilt helps shorter users or thick tops.
-
Eye line: The top third of the main display at or slightly below eye level. Use a monitor arm to fine-tune after you change desk height.
Safety and power discipline
-
Load headroom: Run at 60–70 percent of rated dynamic capacity. Printers, slabs, tools, and dual monitors add up. Headroom keeps motors cool and motion smooth.
-
Anti-collision: Test both directions after you add a printer or enclosure. Use a foam block under the edge (down) and a padded shelf above (up). Fix cable drag before changing sensitivity.
-
Fire basics: Keep a small extinguisher nearby and do not enclose power strips in sealed containers. Provide ventilation space around the control box and bricks.
Noise, acoustics, and neighbors
-
Isolation plus density: The isolation pad + dense slab trick for printers helps with acoustics too. On hard floors, quality rubber foot pads reduce reflected noise.
-
Rattle audit: If you hear buzz on lift, strap bricks tighter, pad the strip lightly, and retorque the desk controller bracket and crossbar bolts. Aim for mid-40s dB(A) lifts at the ear.

Commissioning checklist (maker edition)
-
Frame squared and torqued; long feet installed for deep tops
-
Rear cable tray mounted; surge strip fixed inside; bricks strapped; AC/data separated
-
One vertical cable chain to the floor; no tails; service loops at pivots and printer bundle
-
Isolation slab/pads under the 3D printer; camera/light arms clamped near a leg
-
Heat and ESD mats placed; ventilation planned for resin or heavy flux
-
Reset performed; anti-collision tested down/up; presets saved (Sit/Perch/Stand)
-
Corner push test at standing height passes; print-quality test (ringing lines) confirmed
Troubleshooting quick wins
-
Ringing or ghosting on prints: Add mass (slab) and compliant pads; move the printer over a leg; reduce acceleration/jerk in firmware; ensure the height adjustable desk crossbar is tight.
-
Random stops on the way down: A cable is rubbing a lifting column or tray. Add slack and reroute through a brush grommet; retest anti-collision.
-
Display or camera drops on lift: USB or HDMI cable too tight at a pivot. Use certified, shorter cables and add service loops.
-
Melted spot on the top: Park irons and hot ends on silicone; replace with HPL offcut or metal plate in heavy-heat zones.
Procurement checklist for a maker-grade station
-
Standing desk frame: Dual motors, three-stage lifting columns, long feet, reinforced crossbar; 30–45 mm/s under load; mid-40s dB(A); anti-collision up and down
-
Desktop: 25–30 mm HPL over dense core; matte finish; insert-ready mounting; silicone and ESD mats for hot/ESD zones
-
Isolation: Dense slab and neoprene pads for printers; high-traction rubber foot pads under desk feet
-
Arms and mounts: Monitor arm with integrated channels; compact camera/light arms; reinforcement plate for thin tops
-
Cable management: Rear metal cable tray; surge-protected strip; vertical cable chain; brush grommets; labeled service loops; bricks strapped
-
Safety: Small extinguisher nearby; ventilation for resin; clearances around the control box and bricks
A maker workstation can thrive on a standing desk when you treat stability, heat, and cables as first-class constraints. Start with a stable height adjustable desk—dual motors, three-stage lifting columns, long feet, and a dense top—then add mass and isolation under the printer. Route one clean power drop through a rear cable tray and vertical cable chain, tie every brick, and keep service loops at pivots. Save Sit, Perch, and Stand presets on the desk controller, and you will build, print, and solder longer with fewer snags and better results.
-
Explore height adjustable desks, long-foot frames, cable management kits, and maker-friendly accessories at Venace: https://www.vvenace.com
-
Contact us: tech@venace.com

