Portrait Monitors on a Standing Desk: Vertical Stacks, Rotation Torque, and Cable Slack That Works
Portrait screens are great for code, documents, and feeds. They also change the physics and ergonomics of your workstation. A tall, rotated panel adds lever arm and rotational torque to your monitor arm, raises the visual horizon, and stresses cables at pivots—effects you feel more at full height. With the right arm, clamp placement, and cable plan, a portrait layout on a height adjustable desk stays stable, ergonomic, and flicker‑free.
Why portrait (and what it changes)
-
Better information density: More lines of code and longer documents with fewer scrolls.
-
Clear reading rhythm: Portrait matches page aspect for docs and help panes.
-
New loads: Taller moment arm increases torque at the VESA joint and the desktop clamp. A wobbly base or under‑spec arm shows up as ripple when you type or rotate.
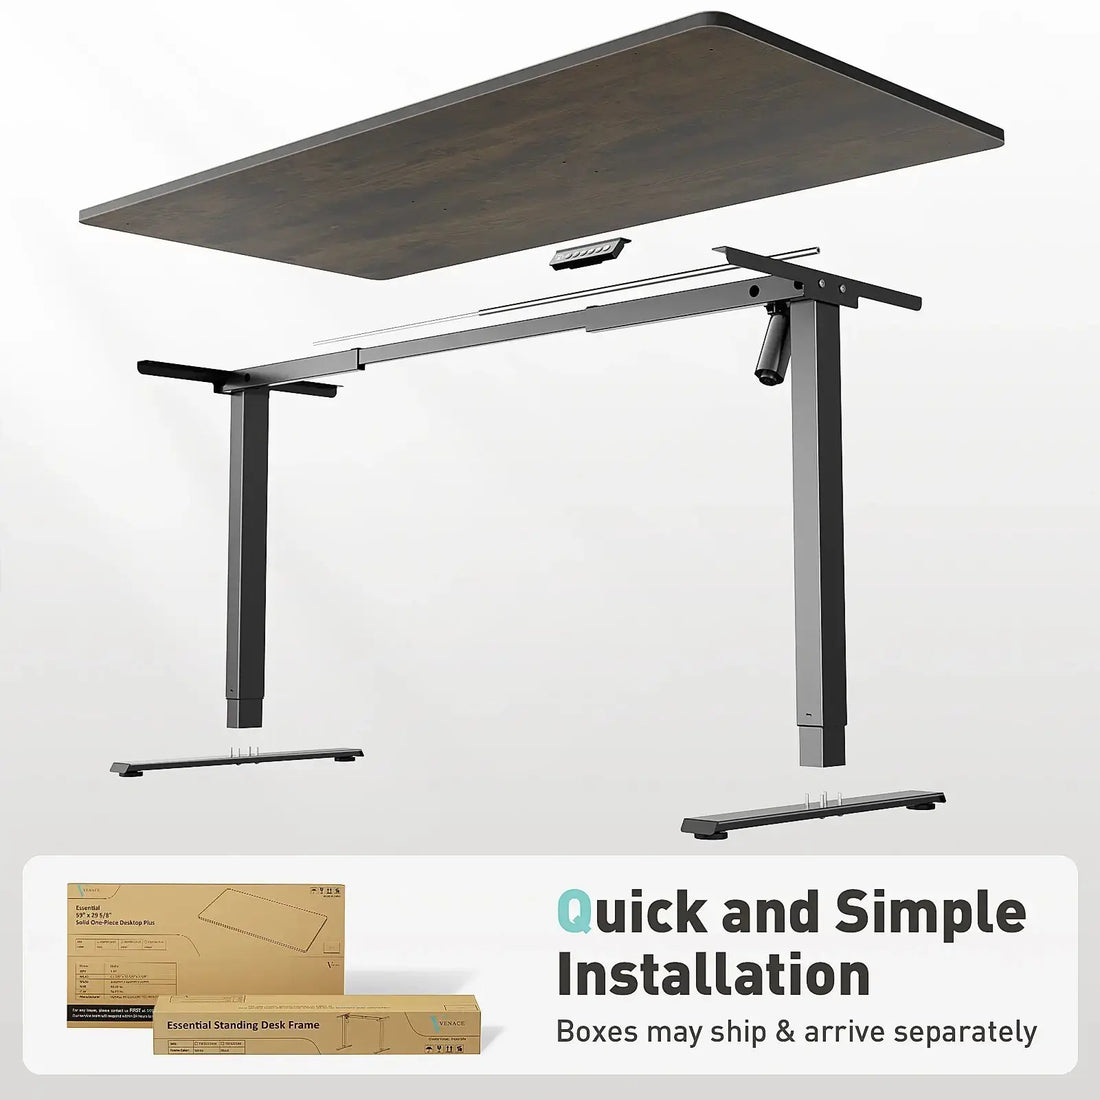
Start with a stable foundation
Portrait setups amplify small motions. Put them on a solid base.
-
Frame: Choose a dual‑motor standing desk with three‑stage lifting columns. More overlap at height means a stiffer feel when the screen sits high.
-
Crossbar and feet: A reinforced, closed‑section crossbar and long, gusseted feet control yaw and front‑to‑back pitch on deeper (30‑inch) tops.
-
Desktop: A dense 25–30 mm laminate top resists “panel drum” and clamp dents. On thin tops, add a steel reinforcement plate under the clamp zone.
-
Performance sanity checks: Target lift speed under load of 30–45 mm/s and mid‑40s dB(A) at ear height for quiet motion. A height adjustable desk should move without calling attention to itself.
Pick the right monitor arm (capacity, reach, and rotation)
Portrait adds rotational forces at the head and more leverage at full extension.
-
Capacity with headroom: Choose an arm rated at least 20–30% above your panel’s weight (include VESA plate and adapters). Undersized arms sag and transmit vibration.
-
Rotation hardware: Look for a head with smooth, detented rotation and independent tilt/pan. That keeps the screen square after rotation.
-
Reach and retraction: Confirm the arm retracts enough to put the screen at an arm’s‑length viewing distance on a 24–30 inch top.
-
Clamp vs. grommet: Either can work. On a standing desk, clamp as close as practical to a lifting column to shorten the lever on the desktop. Use a grommet mount only if it lands within the frame footprint and clears rails.

Ergonomics for portrait and vertical stacks
The rules do not change—only the geometry.
-
Eye line: Keep the top third of your primary screen at or slightly below eye level. With a two‑high stack, the lower display is primary; angle the upper slightly downward to reduce neck extension.
-
Distance: Start around an arm’s length and adjust for font size. Tall panels can tempt you to move closer—counter with sane scaling and line height.
-
Dual orientations: If you run landscape + portrait, center the primary display and angle the secondary 20–30 degrees inward. Keep bezels tight and aligned to reduce eye jump.
-
Input and stance: Keep elbows near 90 degrees and wrists neutral. A keyboard tray with a slight negative tilt helps shorter users or thick desktops. A foot rail or footrest encourages micro‑movements during standing blocks.
Cable management that survives rotation and lift
Most portrait flicker and “no signal on lift” boils down to tight or under‑spec cables.
-
Certified, short runs: Use certified DP 1.4 or HDMI 2.0/2.1 and keep passive runs to 1.5–2 m. For longer paths (to wall displays), use active or optical—not a longer passive cable.
-
Service loops at pivots: Leave small slack loops where cables pass through arm joints and where they enter the tray. The loop should stay relaxed through rotation and across the full sit‑stand stroke.
-
Dock under the top: Mount a USB‑C/Thunderbolt dock under the desktop or inside the rear cable tray. Use an e‑marked 5A/100 W PD cable for laptops that need it and keep high‑bandwidth runs short.
-
One power drop: Power everything from a surge‑protected strip mounted inside the rear tray; run a single trunk down a vertical cable chain to a floor box or power spine. No tails across aisles; no daisy‑chains.
-
AC/data separation: Keep bricks and mains on one side of the tray; route DisplayPort/HDMI/USB/LAN on the other. This reduces hum and prevents EMI “mysteries.”

Portrait‑specific stability tips
-
Clamp near a leg: Big effect, zero cost. Moving the arm clamp closer to a lifting column shortens the lever and calms ripple at height.
-
Reinforcement plate: If your top is thinner than ~25 mm or shows clamp dents, add a steel plate under the clamp zone (within the frame footprint).
-
Tension tune: With the monitor installed and rotated, set lift and tilt tensions so the panel neither rises nor droops. Correct tension prevents micro‑oscillation after a tap or key strike.
-
Long feet on deep tops: On 30‑inch‑deep desktops, long feet tame pitch when the screen sits higher in portrait.
Software and visual comfort
-
Scale smart: Use sane font sizes and line spacing in editors and docs. Portrait invites tiny fonts; your neck and eyes disagree.
-
Themes and glare: Matte desktops and diffused task lights (3,500–4,000 K, CRI 90+) reduce reflections. Lower white point and brightness at night to minimize visual fatigue.
Setup steps (15‑minute sequence)
-
Base and arm
-
Square and torque the frame (star pattern); level at your standing preset.
-
Clamp the monitor arm close to a lifting column; add a reinforcement plate under thin tops.
-
Cables and tray
-
Install the rear cable tray; fix a surge‑protected strip inside; separate AC and low‑voltage lanes; strap bricks.
-
Mount the dock under the top; run short, certified video leads to the arm; leave service loops at pivots and at the tray entry.
-
Route one trunk through a vertical cable chain to floor power.
-
Ergonomics
-
Rotate the panel; set top third at eye height; set distance to an arm’s length; tune tilt/pan so vertical edges are true.
-
Save Sit and Stand (and Perch if used) on the desk controller.
-
Tests
-
Lift bottom to top with the screen on; rotate portrait↔landscape; confirm no flicker. If it blinks, add slack and shorten the cable to keep the loop inside the tray.
-
Corner‑push at full height; damping should be quick. If ripple lingers, re‑torque crossbar, move clamp closer to a leg, and verify long feet.

Troubleshooting quick wins
-
Flicker on lift or rotation: Tight or overlong cable at an arm joint. Add a loop at the pivot and swap to a certified, shorter DP/HDMI run. Avoid adapters in series.
-
Sagging in portrait: Increase lift/tilt tension; if the arm still droops, step up to a higher‑capacity model.
-
Wobble only at full height: Move the arm clamp closer to a lifting column; add a reinforcement plate; re‑level at the standing preset; verify crossbar torque.
-
“Buzz” during motion: Strap bricks in the tray; add a thin EVA pad under the strip; retorque the keypad bracket. Most noise is unsecured accessories, not motors.
A quick spec to paste into your plan
-
Foundation: Dual‑motor standing desk; three‑stage lifting columns; reinforced crossbar; long, gusseted feet; lift speed 30–45 mm/s under load; mid‑40s dB(A) target; anti‑collision up/down.
-
Monitor arm: Capacity ≥ panel weight + 20–30%; smooth rotation head; independent tilt/pan; reach/retraction suited to a 24–30 inch desktop; clamp near a leg; reinforcement plate on thin tops.
-
Cable management: Rear metal cable tray; surge‑protected strip; vertical cable chain; AC/data separation; short, certified DP 1.4/HDMI 2.0/2.1; service loops at pivots; one power drop.
-
Ergonomics: Top third of display at or slightly below eye level; arm’s‑length viewing distance; keyboard at elbow height with neutral wrists; optional foot rail/footrest.
Portrait‑oriented monitors and vertical stacks shine on a standing desk when you respect geometry and wiring. Put tall screens on a stable, quiet height adjustable desk, clamp the arm near a lifting column, and reinforce thin tops. Keep video runs short and certified, leave slack at pivots, and feed everything from a surge‑protected strip in a rear cable tray with one clean drop to the floor. Save Sit and Stand on the keypad and tune tension so the panel holds still. Do that, and your portrait layout will feel ergonomic, look crisp, and stay rock solid—sitting or standing.
-
Explore heavy‑duty monitor arms, stable standing desk frames, reinforcement plates, and cable management kits for portrait and stacked displays at Venace: https://www.vvenace.com
-
Contact us: tech@venace.com

