Receiving and Commissioning Checklist: From Delivery to First‑Day Use of Standing Desks
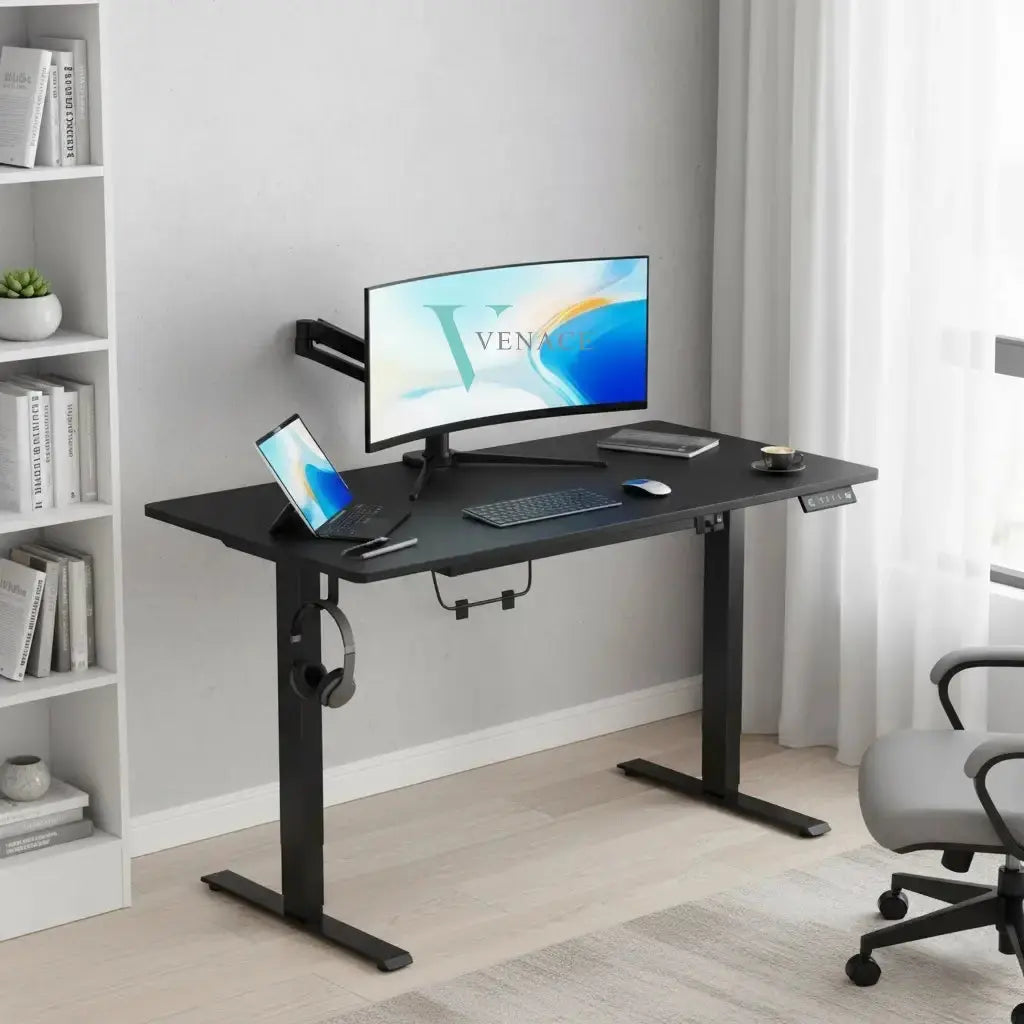
A smooth rollout starts before the first screw turns. The way you receive, inspect, assemble, and hand off each height adjustable desk determines how many tickets you get in week one—and how fast people adopt sit‑stand habits. Use this practical, field‑tested checklist to go from loading dock to first‑day use with fewer surprises, quieter motion, and tidy cable management that lasts.
Before delivery: set expectations
-
Staging plan: Assign staging areas by floor or neighborhood. A clear path from dock to rooms reduces pallet shuffle, damage, and delays.
-
Tools and kits: Stock hex keys, torque drivers, soft mats, ties, and labelers. Preprint quick‑start cards (presets, child lock, reset procedure) for each station.
-
Crew roles: One assembler (frame/torque), one wire lead (control box/cable management), one tester (reset/anti‑collision/presets).
Receiving at the dock (fast checks that prevent pain later)
-
Pallet integrity: No overhang; straps intact; corner posts and top cap present. Reject tipped loads.
-
Carton inspection: Check crush zones and punctures, especially on long crossbars and lifting columns. Snap photos of any compromised boxes before you move them.
-
Label match: Verify SKU and finish (black/white frame, two‑stage/three‑stage) against the manifest. Color‑code by neighborhood if possible.
-
Count hardware kits: Each frame should include a labeled hardware bag, a control box, a desk controller (keypad), and an IEC cord. Confirm spare fasteners are present.

Unboxing and parts verification
-
Soft surface: Unbox on a clean mat or carpet to protect powder coat. Keep packaging for repack if you need to hold back a unit.
-
Parts check: Lifting columns, crossbar, feet, control box, desk controller, motor leads, hardware, and the rear cable tray. Confirm the desk controller cable and motor leads are undamaged—no pinched ends.
-
Finish check: Look for coating scuffs, poor weld grinding, or sharp edges where knees or wires could contact.
Assembly: square first, torque second
-
Frame build: Loosely assemble feet to columns, then install the crossbar at the target width. Square the frame. Torque bolts in a star pattern to prevent racking.
-
Column orientation: Confirm left/right markings if present. Motor ports on the control box must match column assignment (M1/M2, etc.) for correct synchronization.
-
Control electronics: Mount the control box under the rear edge where motor leads reach cleanly without crossing a lifting column. Mount the desk controller near the front edge on the dominant side with big, reachable buttons.
-
Cable management backbone: Install the rear cable tray now. This is the anchor point for power and data—and the best defense against “mechanical” rattles.
Under‑desk wiring: make one clean power drop
-
Power strip in tray: Fix a surge‑protected power strip inside the rear cable tray. Choose right‑angle plugs and spaced outlets for bricks. Never daisy‑chain strips.
-
AC vs. low‑voltage separation: Keep AC cords and bricks on one side of the tray; put USB, DisplayPort/HDMI, and audio on the other. This reduces hum and interference.
-
Strain relief and service loops: Add adhesive anchors on the crossbar. Leave small slack loops at monitor arm pivots and at the control box so nothing goes taut through full travel.
-
Vertical cable chain: Bundle the trunk (strip cord and any LAN) into a vertical cable chain forming a smooth S‑curve to a floor box or outlet. No tails across walkways.

Desktop and accessories
-
Top mounting: For wood/laminate tops, predrill shallow pilot holes. Use screws sized to 50%–60% of top thickness, or threaded inserts for repeatable torque. Avoid through‑holes at all costs.
-
Monitor arms: Clamp as close as practical to a lifting column to reduce leverage. On thinner tops, add a steel reinforcement plate under the clamp to prevent imprint and flex.
-
Keyboard tray (if needed): Keep the track clear of the crossbar and CPU holder. A slight negative tilt helps wrists stay neutral.
-
CPU holder and hooks: Mount holders near a column to keep weight balanced. Add headset and cable hooks under the far edge—never in the knee zone.
Commissioning tests (catch problems before day one)
-
Reset procedure: Clear the area. Hold “down” on the desk controller to drive the height adjustable desk to the lowest mechanical stop until you hear a beep or see RST. Release. Move up and down once to confirm smooth travel.
-
Anti‑collision test: Use a foam block under the front edge for downward protection and a padded shelf or board above for upward protection. The desk should stop and reverse slightly in both directions.
-
Noise under load: With typical gear installed, lift from bottom to top. At the user’s ear height, you’re aiming for mid‑40s dB(A). If you hear a buzz, tie down power bricks tighter or pad the strip lightly; if you hear a scrape, a cable is rubbing the frame—reroute and add slack.
-
Stability checks: Perform a gentle corner push at standing height. A stable standing desk frame (dual motors, three‑stage columns, rigid crossbar, long feet) should damp quickly. If it ripples, re‑square and re‑torque the crossbar, then retest.
IT and AV fit‑off
-
Dock and LAN: Mount the USB‑C/Thunderbolt dock under the top or inside the tray. Use short patch cords to a floor box or spine. Label both ends of key cables (for example, “Left DP,” “Dock PD”).
-
Displays: Use certified DP 1.4/HDMI 2.0/2.1 cables with service loops at arm pivots. Flicker on lift almost always means a tight or under‑spec cable.
-
Audio hygiene: Keep XLR and headset lines away from bricks. Cross AC and audio at 90 degrees if lines must intersect; add ferrites on noisy DC runs.

User handoff: build habits on day one
-
Presets: Save two heights on the desk controller (seated and standing). Label A/B/C/D for shared stations. Show users how to save and edit—30 seconds well spent.
-
Ergonomics card: Post a small card at each station with elbow‑height guidance, “top third at eye level” for monitors, and the 20‑8‑2 rhythm (sit/stand/move).
-
Safety notes: “Move first, then work.” Keep hands and objects clear above and below during motion. Use child lock if stations are in public or home environments.
Acceptance checklist (paste into your SOP)
-
Packaging intact; damaged cartons documented and quarantined
-
Frame assembled square; crossbar and foot bolts torqued in a star pattern
-
Control box mounted rear; desk controller reachable at the front edge
-
Rear cable tray installed; surge strip mounted; bricks tied down; AC/data separated
-
Single vertical cable chain to floor; no tails; service loops at pivots and control box
-
Reset complete; anti‑collision passes down/up tests; noise smooth and even
-
Stability confirmed with corner push; monitor arms clamped near a leg; reinforcement plates used where needed
-
Presets saved; quick‑start card posted with reset steps, lock/unlock, and support contact
Troubleshooting quick wins during commissioning
-
Random stops: Anti‑collision is seeing resistance. Fix tight or rubbing cables near a lifting column or tray. Add slack. Rerun the reset.
-
Uneven legs: Swap motor ports at the control box (M1 ↔ M2). If the tilt follows the port, suspect electronics; if it stays with the leg, the lifting column may be faulty—swap the FRU.
-
No movement: Child lock may be on. Unlock per keypad instructions, verify power path (wall → strip → control box), then perform a reset.
Program close‑outs that prevent week‑one tickets
-
Photo log: Take underside photos of a good build (cable paths, control box location, tray layout) as a training artifact for future crews.
-
Spare kit staging: Per 50 stations, keep one control box, one desk controller, one lifting column, and a small hardware bag on site for same‑day swaps.
-
Scheduled checks: A monthly five‑minute pass—wipe lifting columns, confirm cable slack at full travel, retorque crossbar and feet—cuts noise and wobble complaints.
A great install is the sum of small, repeatable steps: square the standing desk frame, mount a control box with soft start/stop, consolidate power into a rear cable tray, route one clean drop to the floor with a vertical cable chain, and leave slack at every pivot. Finish with a reset, anti‑collision tests, and saved presets on a readable desk controller. Do that, and every height adjustable desk you deploy will feel stable, quiet, and ergonomic on day one—without a flood of avoidable tickets.
-
Explore height adjustable desks, standing desk frames, cable management kits, control electronics, and rollout support at Venace: https://www.vvenace.com
-
Contact us: tech@venace.com

