Signal Integrity on Moving Desks: Cable Length, Standards, and Active Options
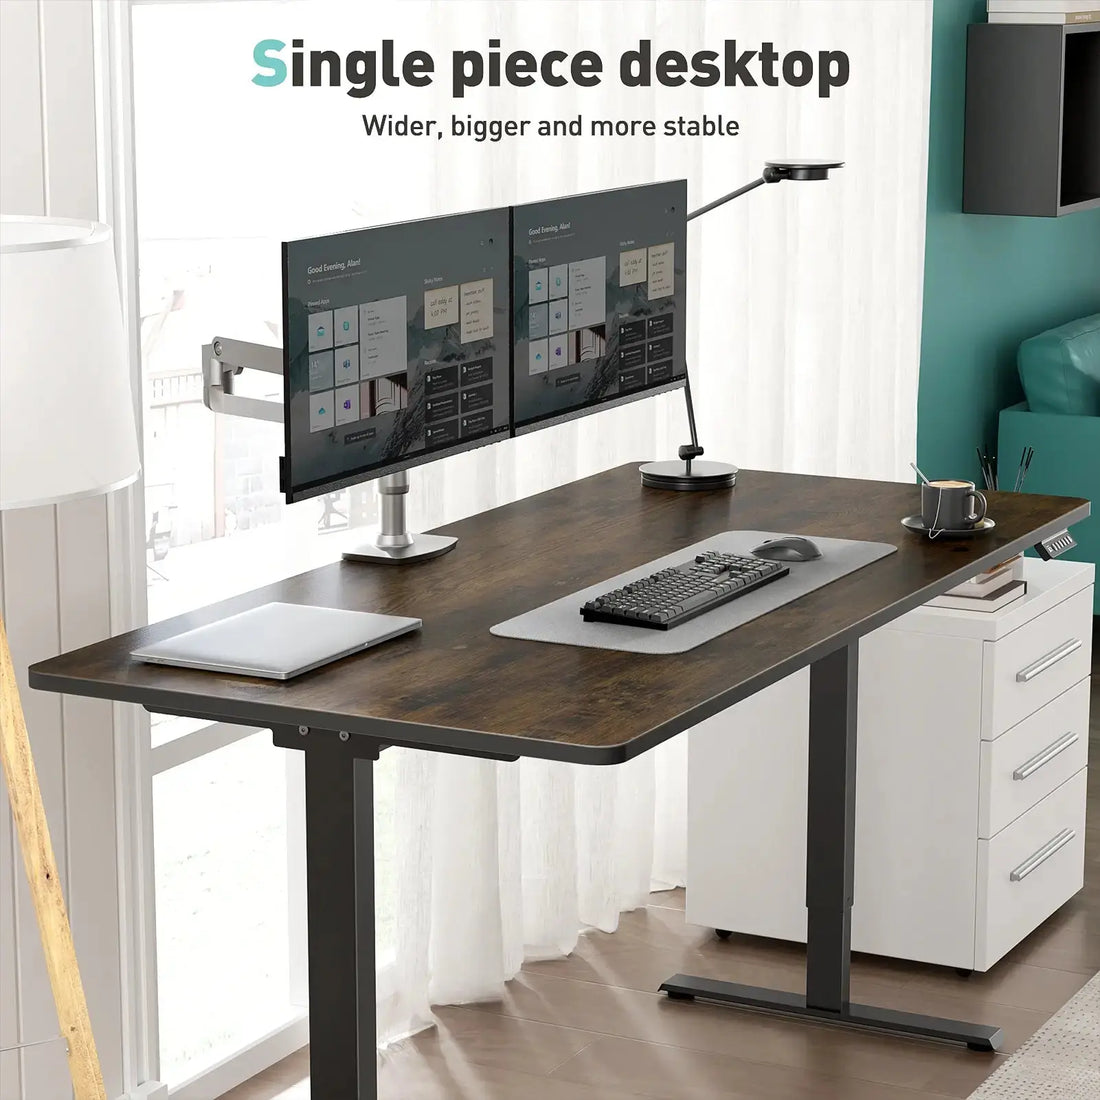
If your displays blink when you raise a standing desk, the problem is rarely the panel. It is almost always the cable run. A height adjustable desk adds motion, bends, and extra length that push video and data links to their limits. Get the signal path right—length, spec, bend radius, and cable management—and your monitors stay solid while your workstation moves quietly and predictably.
Why moving desks stress cables
A fixed workstation hides a lot of sins. On a height adjustable desk, the harness flexes dozens of times a day. Each lift stretches service loops, tightens bends at monitor arm pivots, and tugs on connectors. Common symptoms include:
-
-
Momentary blackouts or “no signal” when lifting
-
Random USB drops on webcams or audio interfaces
-
Subtle flicker at high refresh rates
-
Anti-collision stops triggered by tight or rubbing cables
-
The fix starts with the right standards, lengths, and routing—backed by disciplined cable management.
Know your signal budget
Every interface has a practical passive length limit, especially at modern resolutions and refresh rates. Treat the numbers below as conservative working ranges for real offices, not lab benches.
-
-
DisplayPort
-
DP 1.2 (1440p/60, 1080p/144): Up to 3 meters (≈10 feet) with quality passive copper.
-
DP 1.4 (4K/60, 1440p/144+): 1.5 to 2 meters; go shorter if you drive 4K high refresh.
-
DP 2.0: Early ecosystem; use certified short runs or active solutions.
-
-
HDMI
-
HDMI 2.0 (4K/60): 2 to 3 meters for passive; many “5 m” cables fail real-world tests.
-
HDMI 2.1 (4K/120, 8K/60): Keep it very short (≤2 m) or use certified Ultra High Speed active/optical.
-
-
USB-C/Thunderbolt (video + data + power)
-
USB-C Alt Mode (4K/60 + USB 2.0): 1 to 2 meters; e‑marked cable recommended above 1 m.
-
Thunderbolt 3/4 (dual 4K/60 or 8K/60): Passive 0.8 m typical; for 2 m, use active TB‑certified cables.
-
Power delivery: Match the laptop’s wattage; use e‑marked 5A/100 W cables for 90–100 W PD.
-
-
USB 3.x peripherals
-
5 Gbps (Gen 1) and 10 Gbps (Gen 2): Keep device cords short (≤1 m) and place powered hubs/docks under the desktop to shorten runs to the monitor arm.
-
-

When to go active or optical
If your layout demands longer runs or you want headroom for high refresh rates, step up:
-
-
Active DP/HDMI: Built‑in equalization and redrivers extend copper beyond passive limits. Buy certified, brand‑name cables; avoid no‑name “active” claims.
-
Optical DP/HDMI: Fiber runs handle long distances with high bandwidth and low EMI, but they are directional and fragile at tight bends. Great for tidy trunk runs to a floor box or spine.
-
USB extenders: For webcams and interfaces, use powered hubs or active extension cables. Prefer a dock under the desktop and short device leads over long single‑device cables.
-
Design the path for motion
A clean harness protects ports and signal quality. Treat cable management as part of signal integrity, not just tidiness.
-
-
One power drop: Mount a surge‑protected strip inside a rear metal cable tray. Power the control box, displays, dock, and devices from that strip so only one cord drops to the floor. This reduces snags and ground‑loop surprises.
-
Separate AC and data: Keep bricks and mains on one side of the tray; run DisplayPort/HDMI, USB, and LAN on the other. Crossing at 90 degrees beats long parallels.
-
Service loops at pivots: Leave small loops at monitor arm pivots and at the control box. Nothing should go taut at full extension or bunch up at low height.
-
Strain relief and grommets: Use adhesive anchors along the crossbar; guide cables through brush grommets, not raw edges. Minimum bend radius is your friend (aim for ≥7× cable diameter).
-
Brick discipline: Strap every power brick inside the tray. Loose bricks are the top source of “mystery” buzz that travels into displays and audio.
-

Place the dock where physics wins
Long, thin, multipurpose cables are the enemy. Shorten critical paths:
-
-
Under‑desk dock: Mount the USB‑C/Thunderbolt dock under the desktop or inside the tray. Use the shortest PD cable rated for your laptop (e‑marked 5A/100 W where needed).
-
Short video leads: From the dock to the monitor arm, keep DP/HDMI runs as short as possible. If you need length, make the long segment stationary inside the tray and keep only a short pigtail through the arm’s channels.
-
LAN in the tray: Terminate a CAT drop in the tray and use a short patch cord to the dock. Fewer long lines = fewer chances to snag or inject noise.
-
Tame interference and ground loops
-
-
Ferrite cores: Snap ferrites on noisy DC leads if you hear faint hiss or see USB drops. They will not fix bad cables but can clean marginal runs.
-
Balanced audio: Use balanced XLR/TRS to interfaces and keep audio away from bricks and mains.
-
Single power domain: For most desks, power everything from the same strip. Mixing circuits can create hum paths.
-
Test and tune at full travel
-
-
Motion test: Raise and lower from bottom to top with displays on. If you see a blink or hear a disconnect, you have a tight bend or under‑spec cable.
-
Refresh reality: Run displays at the intended refresh rate and resolution during tests. A cable that holds at 60 Hz may fail at 144 Hz.
-
Decibel spot‑check: A refined control box with soft start/stop ramps keeps lift noise in the mid‑40s dB(A) at ear height. End thumps can jolt marginal connectors loose.
-
Troubleshooting fast path
-
-
Flicker on lift
-
Add a loop at the arm pivot and at the tray entry; reseat connectors; replace with a certified shorter DP 1.4 or HDMI 2.1 cable.
-
-
Random USB drops
-
Shorten the device lead; move the hub or dock under the desktop; use a powered hub; replace long passive USB 3.x cable with an active one.
-
-
No PD or slow charging
-
Use an e‑marked 5A/100 W USB‑C cable; move to the dock’s PD‑labeled port; confirm dock wattage matches the laptop’s spec.
-
-
One screen wakes late
-
Update dock and GPU firmware/drivers; try DP instead of HDMI; avoid adapters in series; test with known‑good short cables.
-
-
A quick spec to paste into your plan
-
-
Standing desk foundation: Dual motors, three‑stage lifting columns, reinforced crossbar, long feet; 30–45 mm/s under load; mid‑40s dB(A); anti‑collision up/down
-
Dock placement: Under‑desk or in‑tray; 90–100 W (or vendor‑required) PD; two native video outputs
-
Video cables: Certified DP 1.4 or HDMI 2.0/2.1; keep to 1.5–2 m; use active/optical when longer
-
USB‑C/TB cables: E‑marked 5A PD; passive ≤0.8–1 m for TB; active for 2 m runs
-
Cable management: Rear metal cable tray; surge strip; vertical cable chain; AC/data separation; service loops at arm pivots; bricks strapped; brush grommets
-
Monitor arm: Clamp near a lifting column; reinforcement plate under thin tops
-
Signal integrity on a standing desk is not magic. It is short, certified cables; the right standards for your resolution and refresh; a dock mounted under the desktop; and disciplined cable management that allows motion without strain. Pair those choices with a stable height adjustable desk, a sturdy monitor arm, and one clean power drop, and your displays and devices will stay rock solid—no flicker, no drops—while you move through the day.
Explore height adjustable desks, monitor arms, cable management kits, USB‑C docks, and certified cable options at Venace: https://www.vvenace.com
Contact us: tech@venace.com

