Stone and Glass Desktops on Standing Desks: Weight, Mounting, and Safety
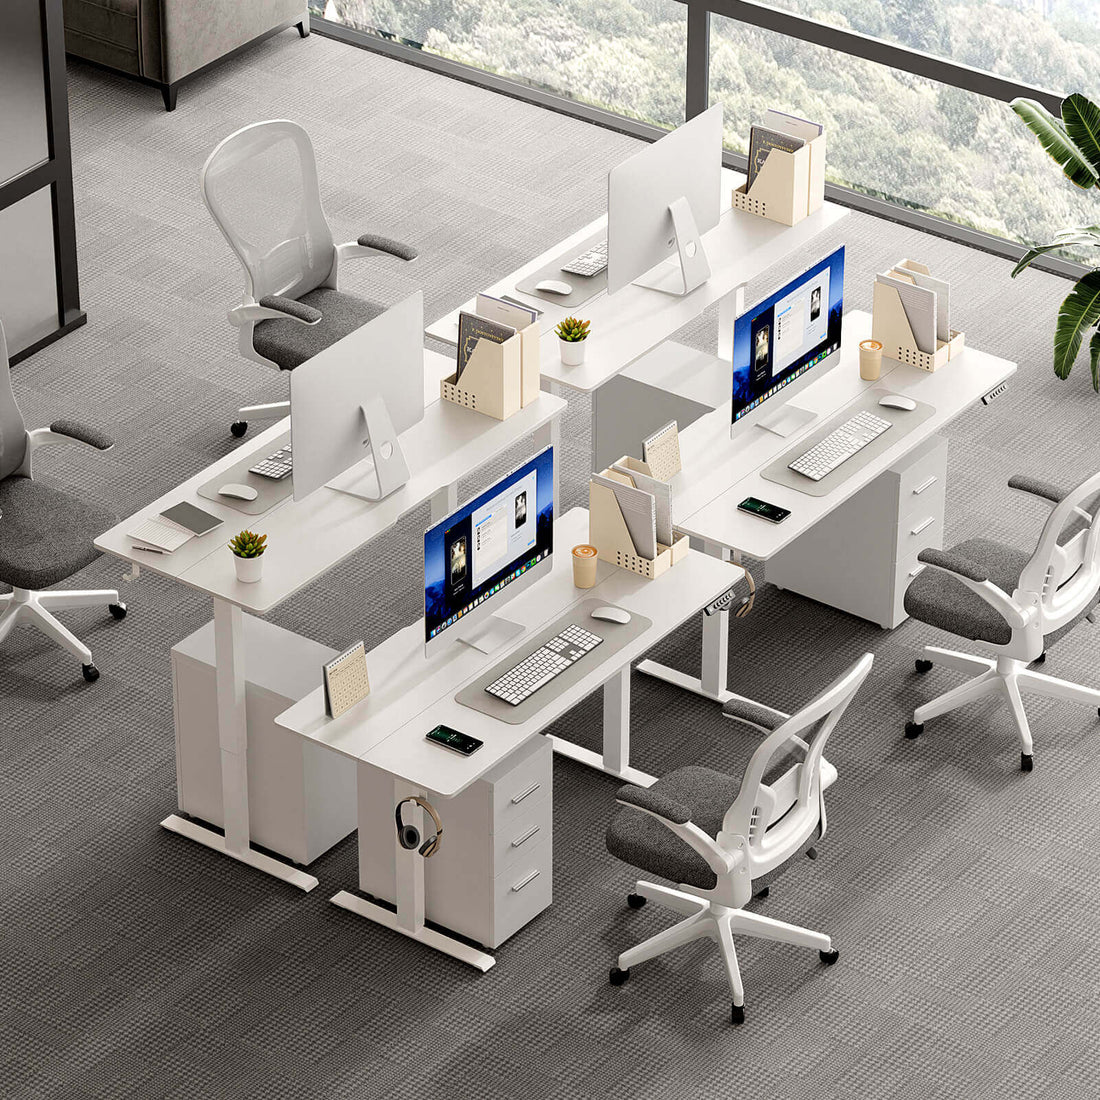
A stone or glass desktop can look stunning. Pair it with a stable height adjustable desk and you get a clean, modern statement. But these materials are unforgiving. They are heavy, brittle at point loads, and tricky to mount. Done wrong, you risk cracked tops, loose hardware, and wobble that erodes confidence. Done right—with a smart substructure, the correct frame, and disciplined cable management—you can get the look without sacrificing stability or safety. Here is a practical guide to specifying stone and glass tops for a standing desk.
Start with physics: weight, stiffness, and margins
-
Dynamic vs. static load: Standing desk ratings often list both. You care most about dynamic capacity (while lifting). Operate at 60%–70% of rated dynamic load for quiet motors and long life. A 40 kg (88 lb) stone slab plus dual monitors, a dock, and a cable tray can push a light frame to its edge.
-
Mass is a double-edged sword: Heavier tops damp some vibration, but they increase tip risk and strain the lifts. You need a rigid standing desk frame with long feet, a reinforced crossbar, and three-stage lifting columns to preserve overlap (stiffness) at full height.
-
Point loads are the enemy: Stone can crack and glass can shatter when clamp forces concentrate at a small area. Spread every load with plates and pads.
Pick the right materials and thickness
Stone
-
Engineered stone (quartz) or natural granite at 20–30 mm thickness are common. Thicker slabs weigh more and raise the center of mass; thinner slabs are more fragile.
-
Avoid narrow cutouts and long, unsupported spans. Overhangs beyond the frame footprint increase leverage and risk.
-
Seal edges and the underside to reduce moisture absorption and long-term warping on natural stone.
Glass
-
Use tempered or, ideally, laminated tempered glass (two layers with a PVB interlayer). Laminated panels retain fragments if a break occurs.
-
Thickness of 10–12 mm (3/8–1/2 inch) is typical for modest spans. Thinner glass flexes; thicker glass gets heavy quickly.
-
Bevel or radius the front edge to reduce forearm pressure and chip risk.

Use a subframe: the hidden hero
You should not clamp a monitor arm or screw a cable tray directly into glass or stone. Build a subframe and mount everything to it.
-
Backer panel: A 12–18 mm (1/2–3/4 inch) high-grade plywood or MDF backer bonded to the underside of the slab distributes loads and provides a place for threaded inserts. Cut it smaller than the desktop to hide the edge.
-
Bonding: Use a stone-safe structural adhesive or neutral cure silicone recommended by your fabricator. Clean, dry, dust-free surfaces are critical. Cure per spec before handling.
-
Inserts and rails: Install M6 or 1/4-20 threaded inserts in the backer for precise, repeatable mounting to the standing desk frame. Consider aluminum T-rails or a steel underframe to carry clamp loads from monitor mounts or trays.
-
Isolation pads: Between the top and subframe or subframe and steel rails, place thin neoprene to reduce creaks and micro-slips as the height adjustable desk moves.
Mounting to the frame without stress risers
-
Slotted brackets: Stone and glass do not “move” like wood, but the subframe and adhesive bond can creep slightly. Use slotted holes with washers so you can align the assembly without forcing bolts to “pull” the top into position.
-
Even torque: Tighten hardware in a star pattern and stop at snug. Over-torquing pulls inserts and concentrates force.
-
Crossbar clearance: Maintain a small gap between the crossbar and the subframe to prevent rubbing or buzz as the frame flexes slightly under dynamic loads.
Monitor arms and accessories: rethink the plan
-
Avoid clamp-on monitor arms on bare glass or stone. If you must use an arm, clamp to a steel reinforcement plate tied back into the subframe or use a grommet mount bolted through the subframe only.
-
Safer alternatives: Freestanding monitor stands with a wide base or wall-mounted arms anchored to studs. A high-quality monitor arm attached through the subframe (not the stone/glass) can work if the load routes into the frame rails.
-
Keyboard trays and CPU holders: Mount into the subframe, not the slab. Confirm clearance to the crossbar and leg columns when the desk travels.

Cable management on hard, slick surfaces
-
Tray-first approach: Mount a rear metal cable tray to the subframe or frame rails. This turns many cords into one clean power drop and keeps hardware off the stone/glass.
-
One vertical cable chain: Guide the trunk down to a floor box or spine so nothing drapes over the edge. Avoid stick-on clips on glass; mechanical mounts into the subframe are reliable.
-
AC vs. data separation: Keep power bricks and mains on one side of the tray; route DisplayPort/HDMI, USB, and LAN on the other. This reduces hum and display noise.
-
Service loops: Leave small slack loops at monitor arm pivots and at the control box. Tight cables are the top cause of flicker and anti-collision false trips.
Edge protection and ergonomics
-
Front edge radius: Stone and glass edges feel harsher than wood or laminate. A 2–4 mm radius or a small waterfall edge reduces forearm pressure.
-
Wrist comfort: If the edge remains sharp to you, add a low-profile desk pad. It protects finishes and improves comfort without adding bulk.
-
Eye and elbow: The ergonomic rules do not change. Keep elbows near 90 degrees and the top third of the screen at or slightly below eye level. Save Sit and Stand on the desk controller to avoid “hunting.”
Flooring, traction, and tip resistance
-
Long feet: Deep or heavy tops increase pitch risk. If your frame offers longer feet, use them.
-
High-traction pads: On polished concrete, tile, or LVT, ensure rubber foot pads are clean and pliable. Replace glazed pads that allow slip.
-
Level at height: Levelers that seemed fine at sitting height may reveal slope at full extension. Always level a heavy height adjustable desk at the standing preset.
Noise and vibration with heavy tops
-
Soft ramps: A refined control box with soft start/stop helps avoid end thumps that ring through glass or stone.
-
Damping: A dense subframe and neoprene isolation between layers cut “panel drum.” Tie down power bricks; loose bricks are the No. 1 source of buzz on hard reflective surfaces.

Safety and handling
-
Lifting: Use rated suction cups and enough hands. A stone/glass assembly with a subframe can exceed 40–60 kg (90–130 lb). Never lift by the monitor cutout or edge.
-
Thermal shock (glass): Do not set very hot or very cold items directly on glass; rapid temperature changes can stress tempered glass.
-
Edge chips: Treat corners with care. Tiny chips can propagate with repeated bumping.
When to choose another surface
-
Heavy monitor arms on a thin slab and a light frame.
-
Need for frequent reconfiguration with lots of clamps and screws.
-
Seismic zones or high-traffic public spaces where tip resistance, impact risk, or breakage are unacceptable.
Alternatives that look premium and behave better
-
High-pressure laminate over a dense core (25–30 mm): Quiet, stiff, and easy to mount. Matte finishes look modern and reduce glare.
-
Phenolic resin or epoxy lab tops: Chemically resistant and stiff; bolt-on friendly. Heavier than laminate but less brittle than stone.
-
Solid wood (properly mounted with floating hardware): Warm, repairable, and easier to work with. Requires care but handles screws and inserts well.
Commissioning checklist for stone and glass tops
-
Frame: Dual motors, three-stage lifting columns, reinforced crossbar, long feet; all bolts torqued in a star pattern.
-
Subframe: Plywood/MDF backer bonded and cured; threaded inserts installed; isolation pads in place.
-
Mounting: Slotted brackets and washers; even torque; clearance to crossbar verified.
-
Accessories: Monitor stands or subframe-mounted arms; trays and holders attached to the subframe; no clamps on bare glass/stone.
-
Cable management: Rear tray installed; surge-protected strip mounted; one vertical cable chain; AC/data separated; bricks strapped; service loops at pivots.
-
Tests: Full down reset on the desk controller; anti-collision tested down (foam block) and up (padded shelf); corner push test at standing height; lift noise spot-check (mid-40s dB[A] target).
Troubleshooting quick wins
-
Micro-wobble at standing height: Move displays closer to the arm post; widen monitor stand footprint; confirm the crossbar is torqued and levelers are set at standing height.
-
Buzz on lift: Strap bricks tighter in the tray; add a thin EVA pad under the strip; check that the subframe does not touch the crossbar.
-
Port strain: If a monitor cable looks taut at full lift, add a service loop at the arm pivot and replace with a certified, slightly shorter cable to keep slack inside the tray.
-
Clamp dents (stone): If someone clamped on the slab, remove immediately. Inspect for hairline cracks; move clamping to a reinforced subframe zone tied into the rails.
Stone and glass desktops can work on a standing desk, but only with engineering discipline. Start with a stable frame—dual motors, three-stage lifting columns, long feet, and a reinforced crossbar. Add a bonded subframe with threaded inserts so every accessory ties into wood or steel, not the brittle slab. Mount a rear cable tray, route one clean power drop, and leave service loops for motion. Choose safe monitor support, soften edges for ergonomic comfort, and test anti-collision with the real load. With those details in place, your height adjustable desk will be as safe and stable as it is beautiful.
-
Explore standing desk frames, subframe-ready mounting hardware, rear cable trays, vertical cable chains, and heavy-duty monitor supports at Venace: https://www.vvenace.com
-
Contact us: tech@venace.com

