Power and Data Infrastructure for Sit-Stand Floors: Floor Boxes, Power Spines, and Ceiling Drops
Standing desks work best when the building feeds them cleanly. If power and data infrastructure lag behind, you will see daisy-chained strips, tripping hazards, random anti-collision stops, and flickering displays as cables go taut. Whether you are fitting out a single office or a whole floor, choosing the right delivery method—floor boxes, a power spine, or ceiling drops—makes a height adjustable desk quiet, safe, and ergonomic from day one.
What a sit-stand station actually needs
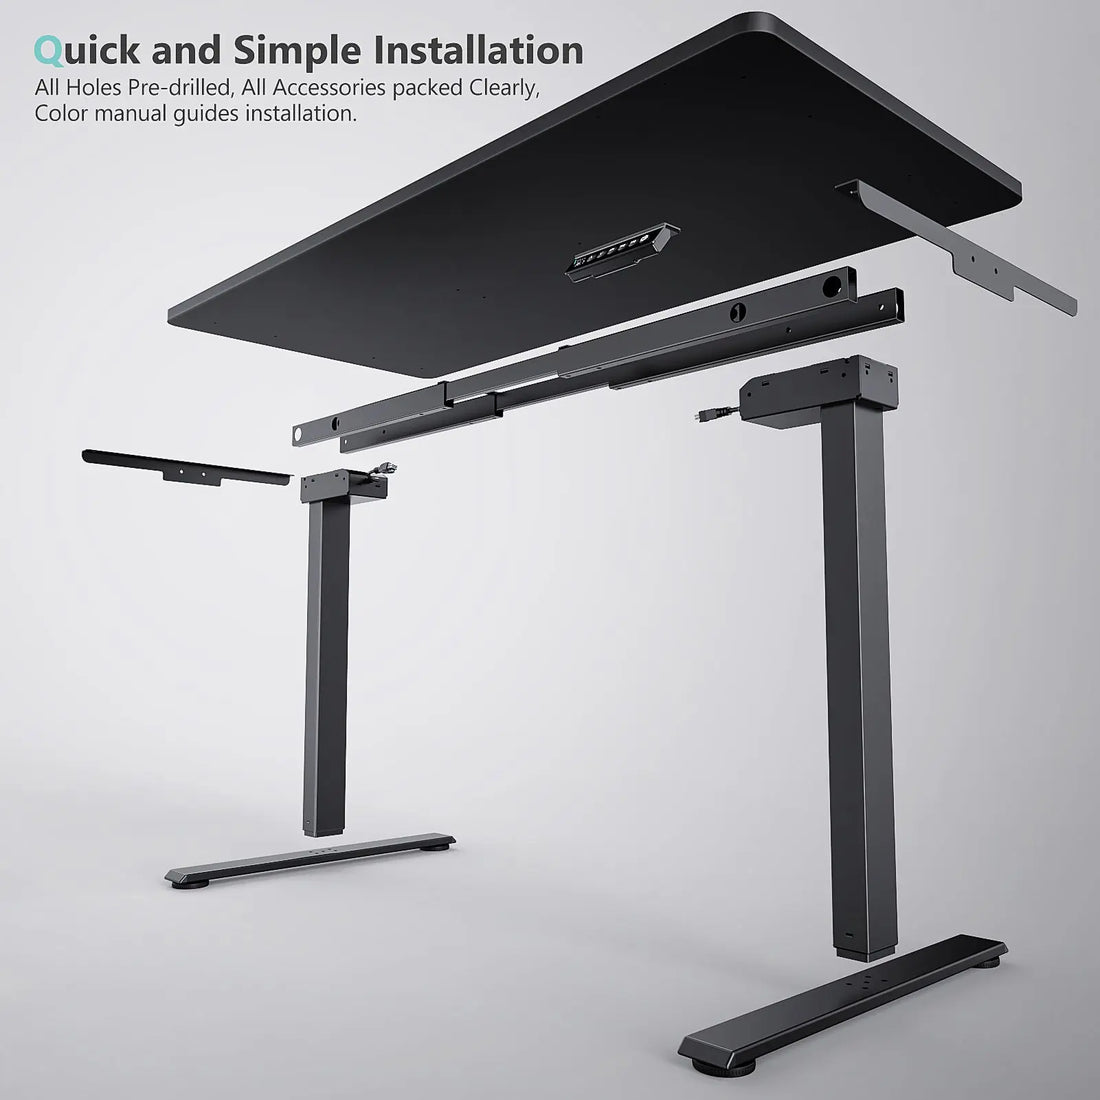
Each height adjustable desk is a small system. Design for it like one.
-
Power: One surge-protected strip mounted inside a rear cable tray, fed by a single cord to building power. No daisy chains.
-
Data: Wired LAN where performance or VoIP stability matters; otherwise Wi-Fi with minimal cable clutter.
-
Cable management: A rear metal cable tray to house the strip and bricks, plus a vertical cable chain that forms a smooth S-curve from sit to stand.
-
Clear knee zone: Nothing protrudes under the front edge. A clean underside prevents pinches, snags, and anti-collision false trips.
Option 1: Floor boxes (most flexible and familiar)
Recessed floor boxes place power and data under or near each station or pair. For new builds and major renovations, they are often the simplest, cleanest choice.
Pros
-
Direct drops: Each station gets a dedicated receptacle under the footprint, minimizing cable runs.
-
Cleaner walkways: No overhead whips or spine covers to work around.
-
Room planning freedom: Easy to support mixed layouts, from hot-desk rows to pods.
Cons
-
Core and carpet work: Saw-cutting slab or carpet tiles adds schedule and cost. Late changes are time-consuming.
-
Fixed positions: Moving stations later may leave “stranded” boxes unless you plan for contingencies.
-
Spacing discipline: Poor spacing forces desks to share boxes or run tails across aisles.
Best practices
-
Pitch: For benching at 48–60 inches center-to-center, align a floor box at each seat or between back-to-back seats. Place the box just behind the rear desk edge.
-
One box, one desk: Favor one box per station when possible. If sharing, keep it to two seats max with clearly labeled ports.
-
Cable path: From box to tray via a vertical cable chain. No tails across carpet; no temporary mats over cords.

Option 2: Power spines (benching and reconfig champions)
A power spine is a linear trunk—often under a bench run—that carries circuits and sometimes data, feeding each seat via short cords.
Pros
-
Speed and modularity: Add, remove, or shift seats without cutting floors.
-
Density: Supports long bench runs cleanly with repeatable modules.
-
Serviceability: Power and data live in one accessible channel.
Cons
-
Coordination: The spine’s footprint must align to each rear cable tray. Poor alignment adds slack and snags.
-
Load planning: You need a circuit map to avoid overload in dense runs.
-
Covers: Low-profile covers must be selected to avoid toe stubs and vacuum jams.
Best practices
-
Alignment: Mount the spine directly below the rear cable trays. A 2- to 3-inch offset is fine; more invites slack piles.
-
Branch cords: Use short, rated cords from each tray to the spine with strain relief at both ends.
-
Labeling: Label spine segments and seats (for example, A1–A8) to simplify troubleshooting and capacity checks.
Option 3: Ceiling drops (retrofit lifesaver)
Overhead whips or umbilicals drop from a cable tray or plug-in busway in the ceiling to each desk or pod. They shine where floor penetration is off-limits.
Pros
-
No floor work: Ideal for leased spaces, polished concrete, or labs with sensitive floors.
-
Reconfig-friendly: Move a pod and swing the drops with it.
-
Segregation: Easy to keep AC and low-voltage in separate whips.
Cons
-
Visual impact: Umbilicals must be neat to avoid visual clutter. Cheap whips look messy fast.
-
Reach and slack: Too short creates tension; too long becomes a snag risk.
-
Coordination overhead: Needs precise ceiling grid or strut placement to hit every desk’s rear tray.
Best practices
-
Target and strain relief: Land the whip into the rear cable tray with a grommet and clip. Add strain relief so weight does not pull on the strip.
-
Pair drops: Run separate whips for AC and data. Keep both on the same side of the tray each seat uses.
-
Busway logic: If you use plug-in busway, map outlet spacing to desk pitch. Provide spare receptacle positions for future moves.

Data strategy: wired where it counts, wireless where it doesn’t
-
Wired LAN: Call centers, streaming-heavy teams, and secure environments benefit from a CAT drop to each seat or every other seat. Terminate in the tray or spine; use short patch cords and label both ends.
-
Wi-Fi for the rest: Standardize on Wi-Fi 6/6E. Keep docks and dense cable bundles away from access points to reduce interference.
-
Cable hygiene: Separate AC and low-voltage in trays; cross at 90 degrees when lines intersect. This reduces hum in headsets and display noise.
Electrical planning (the part people skip)
-
Load math: Sum nameplate wattage for monitors, docks, chargers, lights, and the control box (motion only). Provide 20% headroom per strip and per circuit.
-
Circuiting: In long bench runs, stagger seats across circuits to prevent a single breaker from taking out a whole row.
-
Standby policy: Choose control boxes with less than 0.5 watt standby and post an “after hours off” plan in low-use areas.
Cable management is your secret weapon
Regardless of infrastructure, the station-level harness determines success.
-
Tray and strip: Mount a surge-protected strip in every rear cable tray. Use spaced outlets and right-angle plugs so bricks sit flat. Strap every brick.
-
Vertical cable chain: One clean trunk from tray to floor box, spine, or ceiling whip. The S-curve must stay smooth at sit and stand. No tails.
-
Service loops: Small, intentional loops at monitor arm pivots and the control box. Tight lines cause flicker and anti-collision stops.
-
Labeling: Tag “Dock PD,” “Left DP,” “LAN.” Photo each “golden” underside build to standardize across seats and sites.
Ergonomics and safety at the infrastructure layer
-
Placement: Put floor boxes or spine feeds behind the rear edge, not under the knee zone. Safe placement protects shins and keeps vacuum paths clear.
-
Anti-collision: After install, test down with a foam block and up with a padded shelf at each station. Fix cable drag before changing sensitivity.
-
Controller access: Mount the keypad at the front edge, dominant side. If the area is public, enable child lock or use constant-touch (hold-to-move) where policy allows.
Commissioning checks that cut week-one tickets
-
Reset and presets: Run the full down reset on each height adjustable desk, then save Sit/Stand presets on the controller. Most “won’t move” calls disappear with a reset.
-
Noise and rattle audit: Lift bottom to top with typical gear running. Tie down bricks tighter and add a thin pad under the strip if you hear buzz.
-
Flicker watch: If displays blink on lift, a display cable is taut at a pivot. Add a service loop or swap to a certified, shorter cable.
Which backbone should you pick?
-
Floor boxes: Best for new builds and mixed layouts with predictable seat maps and a premium on aesthetics.
-
Power spine: Best for bench-density floors that reconfigure often and want minimal floor work after day one.
-
Ceiling drops: Best for leaseholds or specialty floors where slab work is banned and a tidy overhead busway is feasible.
Spec checklist to paste into your RFQ
-
Standing desk: Dual motors, three-stage lifting columns, long feet, reinforced crossbar; 30–45 mm/s under load; mid-40s dB(A); anti-collision up and down
-
Station kit: Rear metal cable tray; surge-protected strip with spaced outlets; vertical cable chain; brush grommets; bricks tied down
-
Infrastructure: Floor boxes at each seat or a continuous power spine aligned to trays; ceiling busway and umbilicals where slab work is not allowed
-
Data: Seat-level CAT where required; Wi-Fi 6/6E elsewhere; AC and low-voltage separation in trays
-
Docs: Quick-start card (presets, reset, lock/unlock), underside photo standard, circuit map, and labeling convention
Power and data routing is the hidden foundation of a great sit-stand floor. Pick a backbone—floor boxes, a power spine, or ceiling drops—that matches your layout and lease, then standardize the station kit: rear cable tray, surge strip, vertical cable chain, and labeled service loops. With a stable standing desk, disciplined cable management, and a clean, one-drop design, every height adjustable desk will run quietly, protect ports, and stay ergonomic through years of daily use.
-
Explore height adjustable desks, cable management kits, vertical cable chains, and infrastructure-friendly accessories at Venace: https://www.vvenace.com
-
Contact us: tech@venace.com