The 60-Minute Sit-Stand Tune-Up: Audit and Optimize Existing Standing Desks
If your standing desks have been in service for a while, small issues add up: a hint of wobble at full height, a buzz on lift, a cable snag that trips anti-collision, or users who never saved presets. The fix is not a full replacement. A structured, 60-minute tune-up per station restores stability, quiet motion and ergonomic alignment, and it often cuts facilities tickets in half. Here is a practical checklist to audit and optimize any existing height adjustable desk so it feels new again.
What you’ll need
-
Tools: Hex keys, a torque driver with bits, a small bubble level, adhesive anchors, reusable ties, a few grommet liners and a microfiber cloth.
-
Materials: A surge-protected power strip (if there isn’t one in the tray), a vertical cable chain, a handful of labels and a thin EVA pad for the strip if rattles persist.
-
Apps: Any A-weighted decibel app for a quick lift-noise check.
Step 1: Baseline in five minutes
-
Corner push: At your standing preset, apply a gentle push to a front corner. A stable frame should damp quickly without shimmy.
-
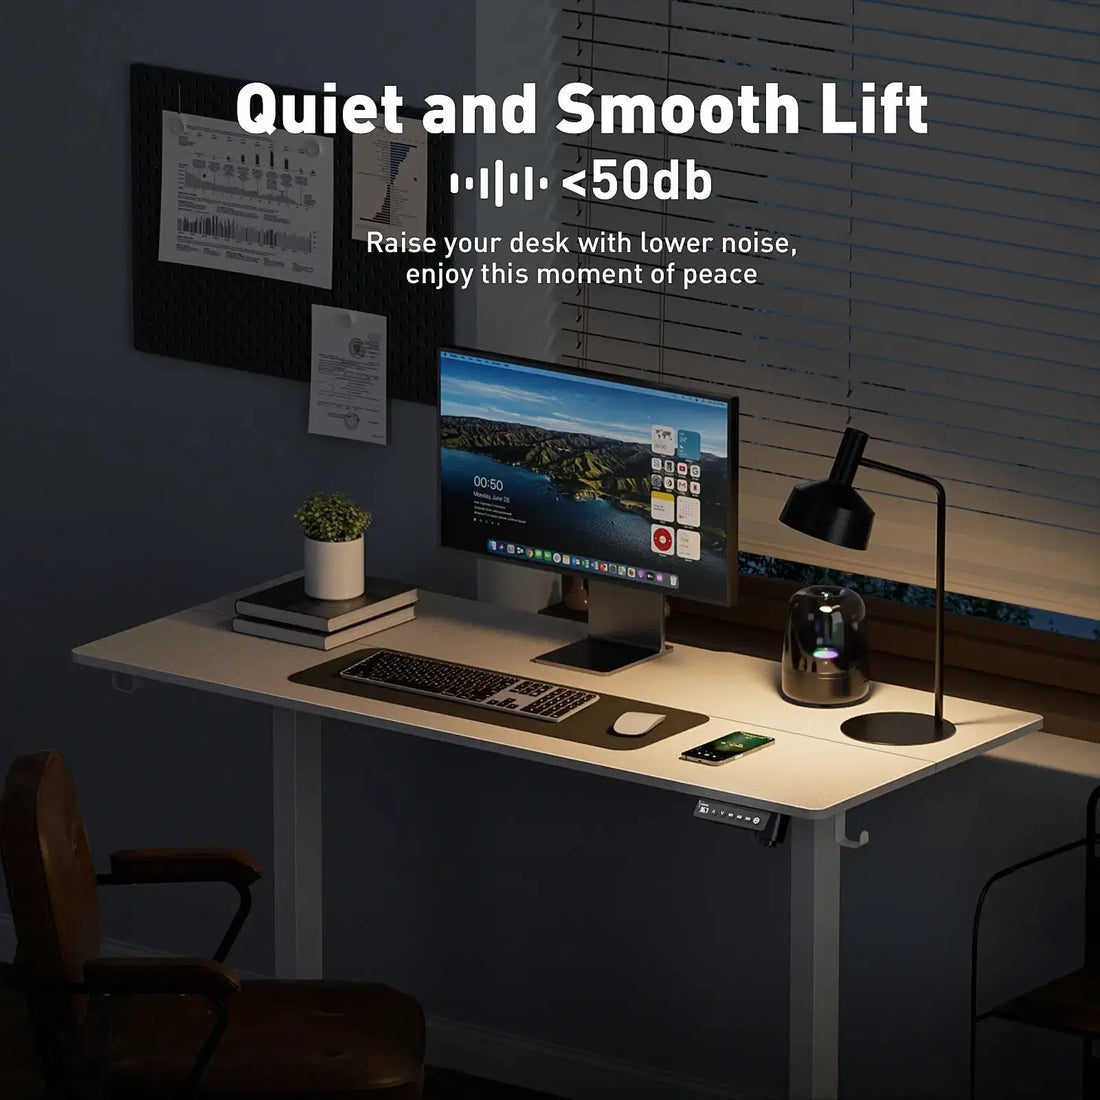
Noise check: Lift bottom to top with the current load. At ear height, aim for a mid-40s dB(A) reading and a smooth ramp without end thumps.
-
Visual pass: Look for dangling cords, bricks hanging by their wires, and monitor arms clamped far from a leg. These are your fastest wins.

Step 2: Square and torque the frame
Many “floor problems” are frame problems. Loosen, square and re-torque.
-
Loosen, align, tighten: Loosely free the crossbar bolts, square the frame, then torque crossbar and foot bolts in a star pattern. This cures most creaks and “walking.”
-
Long feet: If your desk supports a deep top and feels pitchy, upgrade to longer, gusseted feet where possible.
Step 3: Level at standing height
Levelers that were fine at sitting height can hide problems at full extension.
-
Raise to the user’s standing preset, then adjust each leveler until all feet bear weight evenly.
-
On carpet tiles or floating floors, re-check after a week and schedule quarterly re-levels.
Step 4: Rebuild cable management (the quiet fix)
Tight or tangled cables cause flicker and false anti-collision stops. Treat the harness as part of the mechanism.
-
Rear tray backbone: Mount or realign a metal cable tray along the back underside. Fix a surge-protected strip inside. This turns many cords into one clean power drop.
-
One trunk only: Route a single bundled cord down a vertical cable chain to a floor box or spine. No tails across walkways.
-
Separate AC and data: Keep bricks and mains on one side of the tray; route DisplayPort/HDMI, USB and LAN on the other to reduce hum.
-
Service loops: Leave small slack loops at monitor arm pivots and at the control box. Nothing should go taut at either height extreme.
-
Tie every brick: Strap adapters to the tray so ports never carry weight. Add a thin EVA pad under the strip if you hear buzz on lift.

Step 5: Optimize the controller and reset
-
Mount for use: Place the desk controller near the front edge on the dominant side so presets get used. If the area is public or at home with kids, enable child lock or use hold-to-move per policy.
-
Reset sequence: Clear the area, hold the down key to the lowest mechanical stop until the controller beeps or shows RST, then raise and lower once to confirm smooth travel.
-
Save presets: Store Sit and Stand (and Perch if the user leans). Presets reduce “hunting,” motor time and noise.
Step 6: Anti-collision test (down and up)
-
Downward: Place a foam block under the front edge and lower. The desk should stop and reverse slightly.
-
Upward: Raise into a padded shelf or a protected area above. Fix cable drag before changing sensitivity; tight wires cause most false triggers.
Step 7: Monitor arm and screen alignment
Screen stability equals comfort and accuracy.
-
Clamp near a leg: Move arm clamps as close as practical to a lifting column to reduce leverage on the desktop. On thin tops, add a steel reinforcement plate under the clamp.
-
Eye line and distance: Set the top third of the display at or slightly below eye level, roughly an arm’s length away. Align dual monitors with a slight inward angle.
Step 8: Keys and wrists (optional but high impact)
-
Keyboard tray: If shoulders shrug or wrists extend, add a tray with a slight negative tilt so keys land at elbow height without lowering the whole desk.
-
Pointer: Keep the mouse or trackball on the same plane, close to the body to avoid shoulder abduction.

Step 9: Document the “golden build”
-
Photos: Snap underside photos showing tray placement, AC/data separation, service loops and the single power drop. Installers replicate pictures faster than text.
-
Labels: Tag both ends of key cables (Left DP, Dock PD, LAN) for fast recovery after swaps.
-
Serials: Record control box and lifting column serials for warranty and spares tracking.
Common issues and fast remedies
-
Wobble at height: Re-torque crossbar and feet in a star pattern; clamp monitor arms closer to a leg; add a reinforcement plate; consider longer feet for deep tops.
-
Random stops: A cable is rubbing a lifting column or the tray. Add slack and move the tray a notch rearward.
-
Flicker on lift: Replace under-spec cables with certified DP 1.4/HDMI 2.0/2.1 and leave a loop at the arm pivot.
-
No movement: Unlock the keypad (long press M or lock icon), check the power path and run the reset. Most “dead” desks are waiting for a reset, not parts.
-
Sluggish motion: Reduce load or redistribute weight over legs. Operate at 60%–70% of rated dynamic capacity for quiet, cool motors.
Adoption boosters that work
-
Two presets rule: Ask each user to save Sit and Stand on day one. Post a small desk card with preset, reset and “move first, then work” cues.
-
Cadence: Encourage short, frequent switches—20 minutes sitting, eight standing, two moving per half hour—or pair changes with call starts and task breaks.
-
Mat stow: Add a hook under the desk for anti-fatigue mats so they are not a trip hazard when seated.
KPIs to track after the tune-up
-
First-week tickets per 100 desks (noise, wobble, “won’t move,” cable snags, flicker).
-
Adoption proxy (desks with two or more presets saved).
-
Lift noise spot-check (mid-40s dB[A] at ear height under a realistic load).
-
Comfort pulse (quick 1–5 on shoulders, wrists, neck) at week two.
When to upgrade instead of tune
-
Two-stage legs that miss low/high targets for your team.
-
Short feet under 30-inch-deep tops with heavy arms.
-
No soft-start control box, loud end thumps or frequent desync under load.
In these cases, move to a dual-motor, three-stage height adjustable desk with long feet and a refined control box.
Most standing desk problems are small, solvable and mechanical. Square the frame, level at standing height, rebuild cable management with one clean power drop, reset the control box and align the monitor arm near a leg. Save two presets and add a brief desk card. In an hour or less, you will have a quieter, steadier and more ergonomic station that people actually use—without buying new hardware.
-
Explore stable standing desk frames, vertical cable chains, cable trays, reinforcement plates and desk controllers that make tune-ups stick at Venace: https://www.vvenace.com
-
Contact us: tech@venace.com

